
What is JMX
개요
JMX는 java management extension의 약자입니다. jdk 1.5 부터 제공된 기본 api입니다. application의 상태, 네트워크, 연결된 장치(printer등의) 를 모니터링 할 수 있고 application의 상태를 동적으로 변경할 수도 있습니다.
Architecture
JMX는 3가지 layer로 구성되어 있습니다.

- Instrumentation layer: mbean 과 관련한 리소스를 포함합니다
- JMX agent layer: mbean 서버가 실행되는 계층을 의미합니다.
- Remote management layer: jmx 에이전트와 통신하는 계층을 의미합니다. 해당 계층을 이용하면 jconsole 같은 client를 개발할 수 있습니다.
Mbean
Managed Bean 의 약자입니다. JMX의 agenet level에서 관리됩니다. 내부적으로 4가지 타입의 mbean의 정의 되어 있습니다.
- 표준 MBean
- 동적 MBean
- 오픈 MBean
- 모델 MBean
public interface StatusMBean {
    String getStatus();

    void setStatus(String status);
}


public class Status implements StatusMBean {
    private String status;

    @Override
    public String getStatus() {
        System.out.println(status);
        return status;
    }

    @Override
    public void setStatus(String status) {
        this.status = status;
        System.out.println(status);
    }
}
mBean을 정의하기 위해 interface 를 xxMbean 형태로 명명 후 getter/setter를 정의해야 하며 은닉화를 위해 getter 혹은 setter 만 구현하여도 무방합니다.
JMX 예제
server
public static void main(String[] args) {
    System.out.println("=== server started ! ===");
    ObjectName objectName =
        new ObjectName("me.kalin.status:type=healthcheck,name=status"); //...(1)
    MBeanServer server = ManagementFactory.getPlatformMBeanServer();//...(2)
    server.registerMBean(new Status(), objectName); //...(3)

    while (true) {
        Thread.sleep(1000);
        System.out.println("=== server is working ! ===");
    }
}
- (1): mbean 객체를 생성합니다. 내부 값은 mbean 서버에 등록될 객체를 식별하는 역할을 합니다.
- (2): JMX agent를 호출합니다.
- (3): 생상한 mbean을 등록합니다.
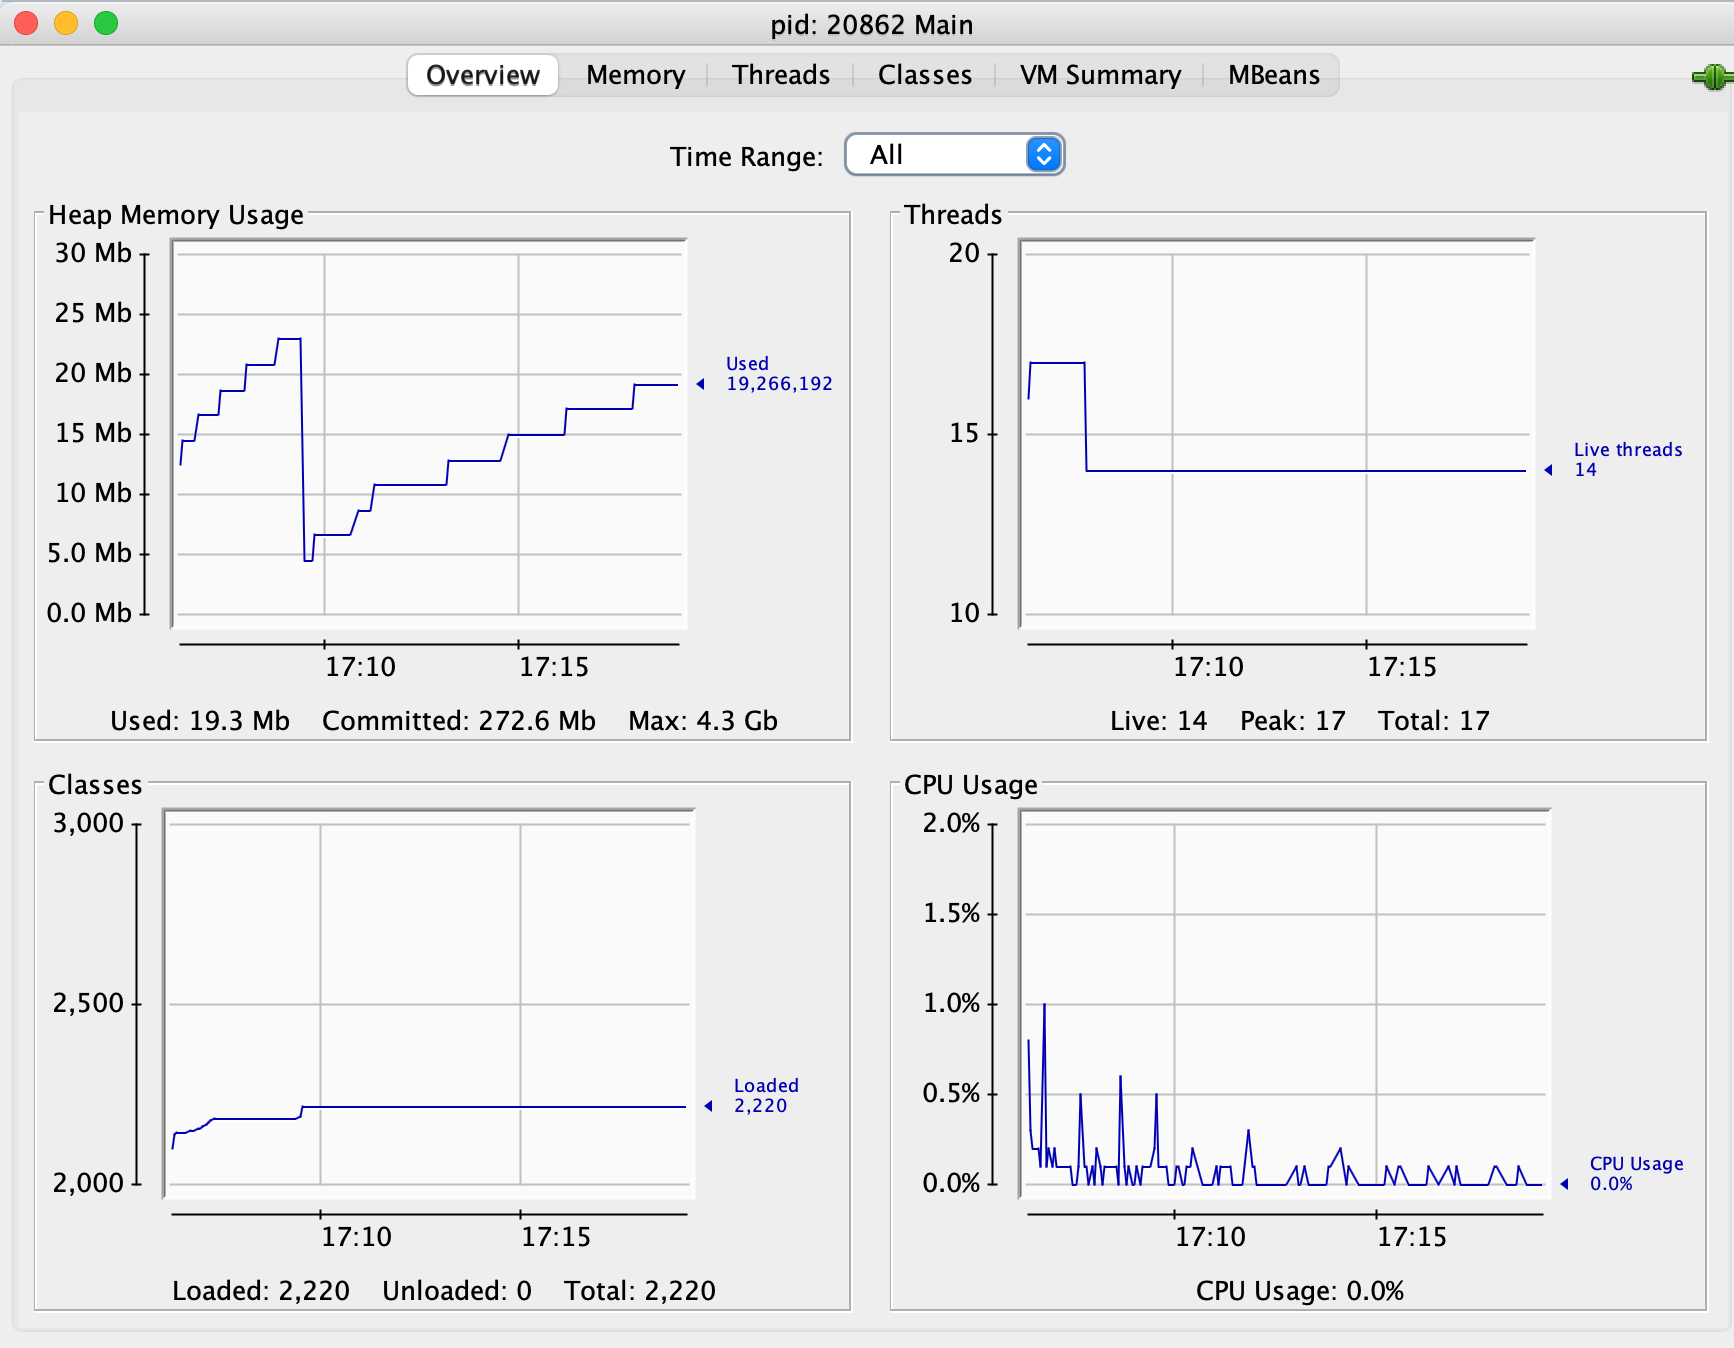
jconsole에서 등록된 mbean을 확인할 수 있습니다.
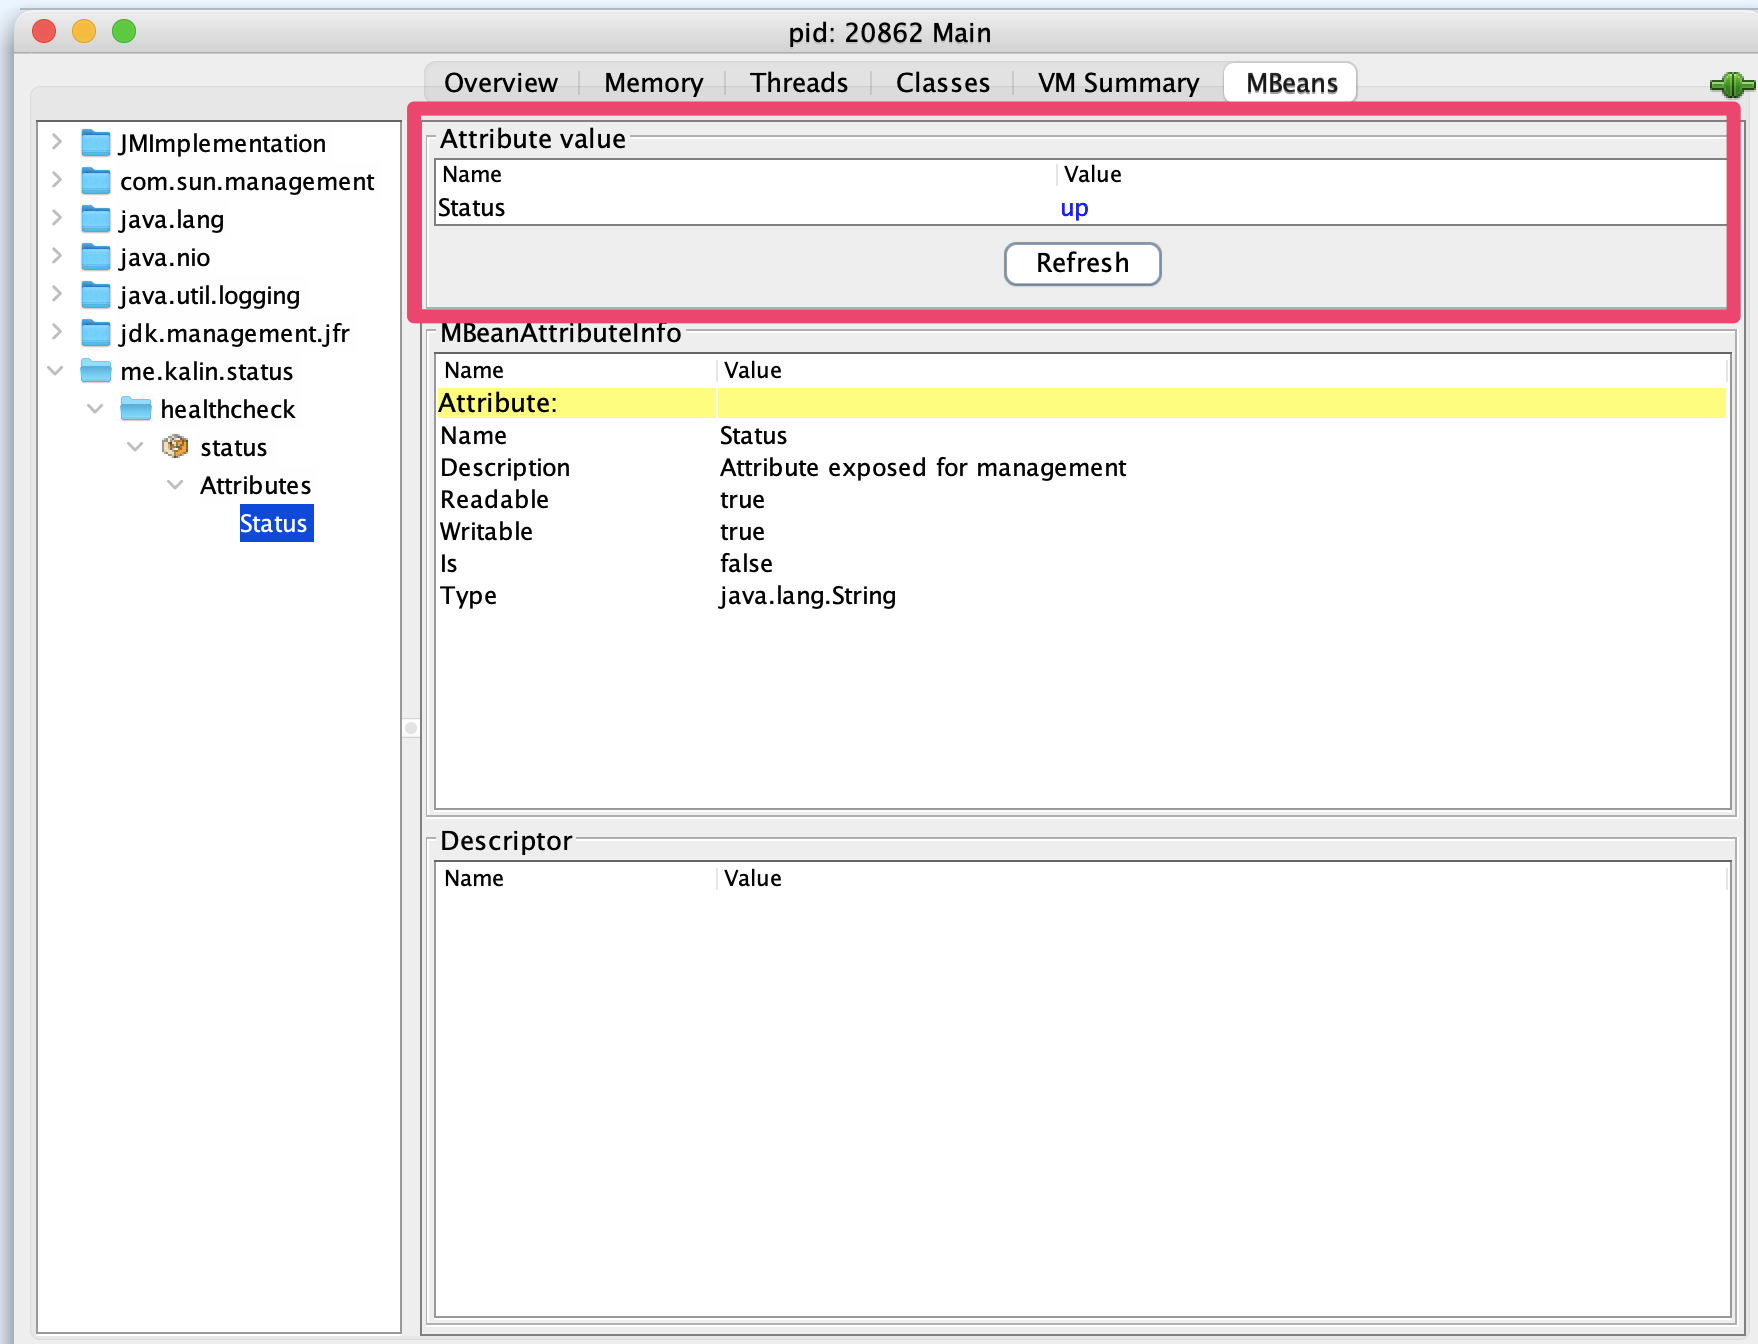 setter가 있는 경우 위와 같이 값을 변경할 수 있습니다.
client
JMX는 기본적으로 외부에서 접근을 허용하지 않습니다. 만약 접근을 허용하려면 서버 application 실행 시 아래와 같은 인자를 전달합니다.
-Dcom.sun.management.jmxremote
-Dcom.sun.management.jmxremote.port=9010
-Dcom.sun.management.jmxremote.local.only=false
-Dcom.sun.management.jmxremote.authenticate=false
-Dcom.sun.management.jmxremote.ssl=false
-Djava.rmi.server.hostname=localhost
서버를 실행 이후 아래와 같은 형태로 client코드 작성하여 확인 할 수 있습니다.
public static void main(String[] args) throws Exception {
    var objectName = "me.kalin.status:type=healthcheck,name=status";

    // (1)
    var url = new JMXServiceURL("service:jmx:rmi:///jndi/rmi://localhost:9010/jmxrmi");
    var connect = JMXConnectorFactory.connect(url, null);
    var connection = connect.getMBeanServerConnection();

    // (2)
    var objectInstance = connect.getMBeanServerConnection()
        .getObjectInstance(ObjectName.getInstance(objectName));

    // (3)
    connect.getMBeanServerConnection().setAttribute(
        objectInstance.getObjectName(), new Attribute("Status", "down"
        )
    );
}
- (1): connection을 맺습니다. 이때 서버에서 설정한 port 와 hostname으로 지정합니다.
- (2): 서버에서 제공하는 MBean 객체를 얻습니다.
- (3): MBean 객체의 태 값을 수정합니다. (setter 호출)
security
JMX는 내부적으로 보안 로직을 제공합니다. 보안 로직은 password와 access 를 지정해야 합니다.${JAVA_HOME}/conf/management/jmxremote.password.template 경로에 예제 파일이 존재합니다.
##############################################################
#    Sample of the jmxremote.password file
##############################################################
# Following are two commented-out entries.  The "monitorRole" role has
# password "QED".  The "controlRole" role has password "R&D". This is an example
# of specifying passwords in the clear
#
#   monitorRole  QED
#   controlRole  R&D
#
# Once a login attempt is made, passwords will be hashed and the file will have
# below entries with clear passwords overwritten by their respective
# SHA3-512 hash
#
#   monitorRole trilby APzBTt34rV2l+OMbuvbnOQ4si8UZmfRCVbIY1+fAofV5CkQzXS/FDMGteQQk/R3q1wtt104qImzJEA7gCwl6dw== 4EeTdSJ7X6Imu0Mb+dWqIns7a7QPIBoM3NB/XlpMQSPSicE7PnlALVWn2pBY3Q3pGDHyAb32Hd8GUToQbUhAjA== SHA3-512
#   controlRole roHEJSbRqSSTII4Z4+NOCV2OJaZVQ/dw153Fy2u4ILDP9XiZ426GwzCzc3RtpoqNMwqYIcfdd74xWXSMrWtGaA== w9qDsekgKn0WOVJycDyU0kLBa081zbStcCjUAVEqlfon5Sgx7XHtaodbmzpLegA1jT7Ag36T0zHaEWRHJe2fdA== SHA3-512
#
monitorRole 계정의 암호는 QED 입니다. 로그인 시도후 해당파일은 SHA3-512 hash 를 이용하여 암호화된다고 적혀있습니다.
jmxremote.access
# A given role should have at most one entry in this file.  If a role
# has no entry, it has no access.
# If multiple entries are found for the same role name, then the last
# access entry is used.
#
#
# Default access control entries:
# o The "monitorRole" role has readonly access.
# o The "controlRole" role has readwrite access and can create the standard
#   Timer and Monitor MBeans defined by the JMX API.

monitorRole   readonly
controlRole   readwrite \
              create javax.management.monitor.*,javax.management.timer.* \
              unregister
계정별 readonly 혹은 readwrite 지정할 수 있습니다.
#jmxremote.password

kalin    12345

#jmxremote.access

kalin    readwrite
JDK에서 제공하는 예와 같은 방식으로 2개의 파일을 작성해줍니다. 이후 서버 실행시 해당파일의 경로를 지정합니다.
-Dcom.sun.management.jmxremote.authenticate=true  #...(1)
-Dcom.sun.management.jmxremote.password.file=jmxremote.password #...(2)
-Dcom.sun.management.jmxremote.access.file=jmxremote.access #...(3)
- (1):
true설정하지 않는다면 암호화 로직은 무시됩니다. - (2), (3): 파일명은 임의로 지정해도 무방하지만 반드시 절대 경로로 지정해야 합니다.
이후 jmxremote.password 에 등록된 계정으로 로그인할 수 있습니다.
With Spring
Spring에서도 JMX를 지원하고 있으며, annotation을 이용해 간편하게 선언 및 사용할 수 있습니다.
application 내에서 사용하는 환경변수용 bean을 예시로 만들어봅니다.
@ManagedResource(objectName = "me.kalin:type=resource,name=Property") // ... (1)
public class Property {
    private String status;
    private int count;

    public Property(String status, int count) {
        this.status = status;
        this.count = count;
    }

    @ManagedAttribute // ... (2)
    public String getStatus() {
        return status;
    }

    @ManagedAttribute
    public int getCount() {
        return count;
    }

    @ManagedAttribute
    public void setCount(int count) {
        this.count = count;
    }

    @ManagedOperation // ... (3)
    @ManagedOperationParameters({
            @ManagedOperationParameter(name = "status", description = "first parameter"),
            @ManagedOperationParameter(name = "count", description = "second parameter")}
    )
    public void change(String status, int count) {
        this.status = status;
        this.count = count;
    }
}
- (1): MBean으로 관리할 bean을 명시합니다. objectName을 기존에 MBean을 선언한 방식 그대로 진행합니다.
- (2):
ManagedAttribute를 선언하여 외부에 노출할 속성을 정의할 수 있습니다. - (3):
ManagedOperation외부에서 파라미터를 주입받아 처리할 수 있습니다.
@Configuration
@EnableMBeanExport
public class JMXConfiguration {

    @Bean
    public Property property() {
        return new Property("UP", 0);
    }
}
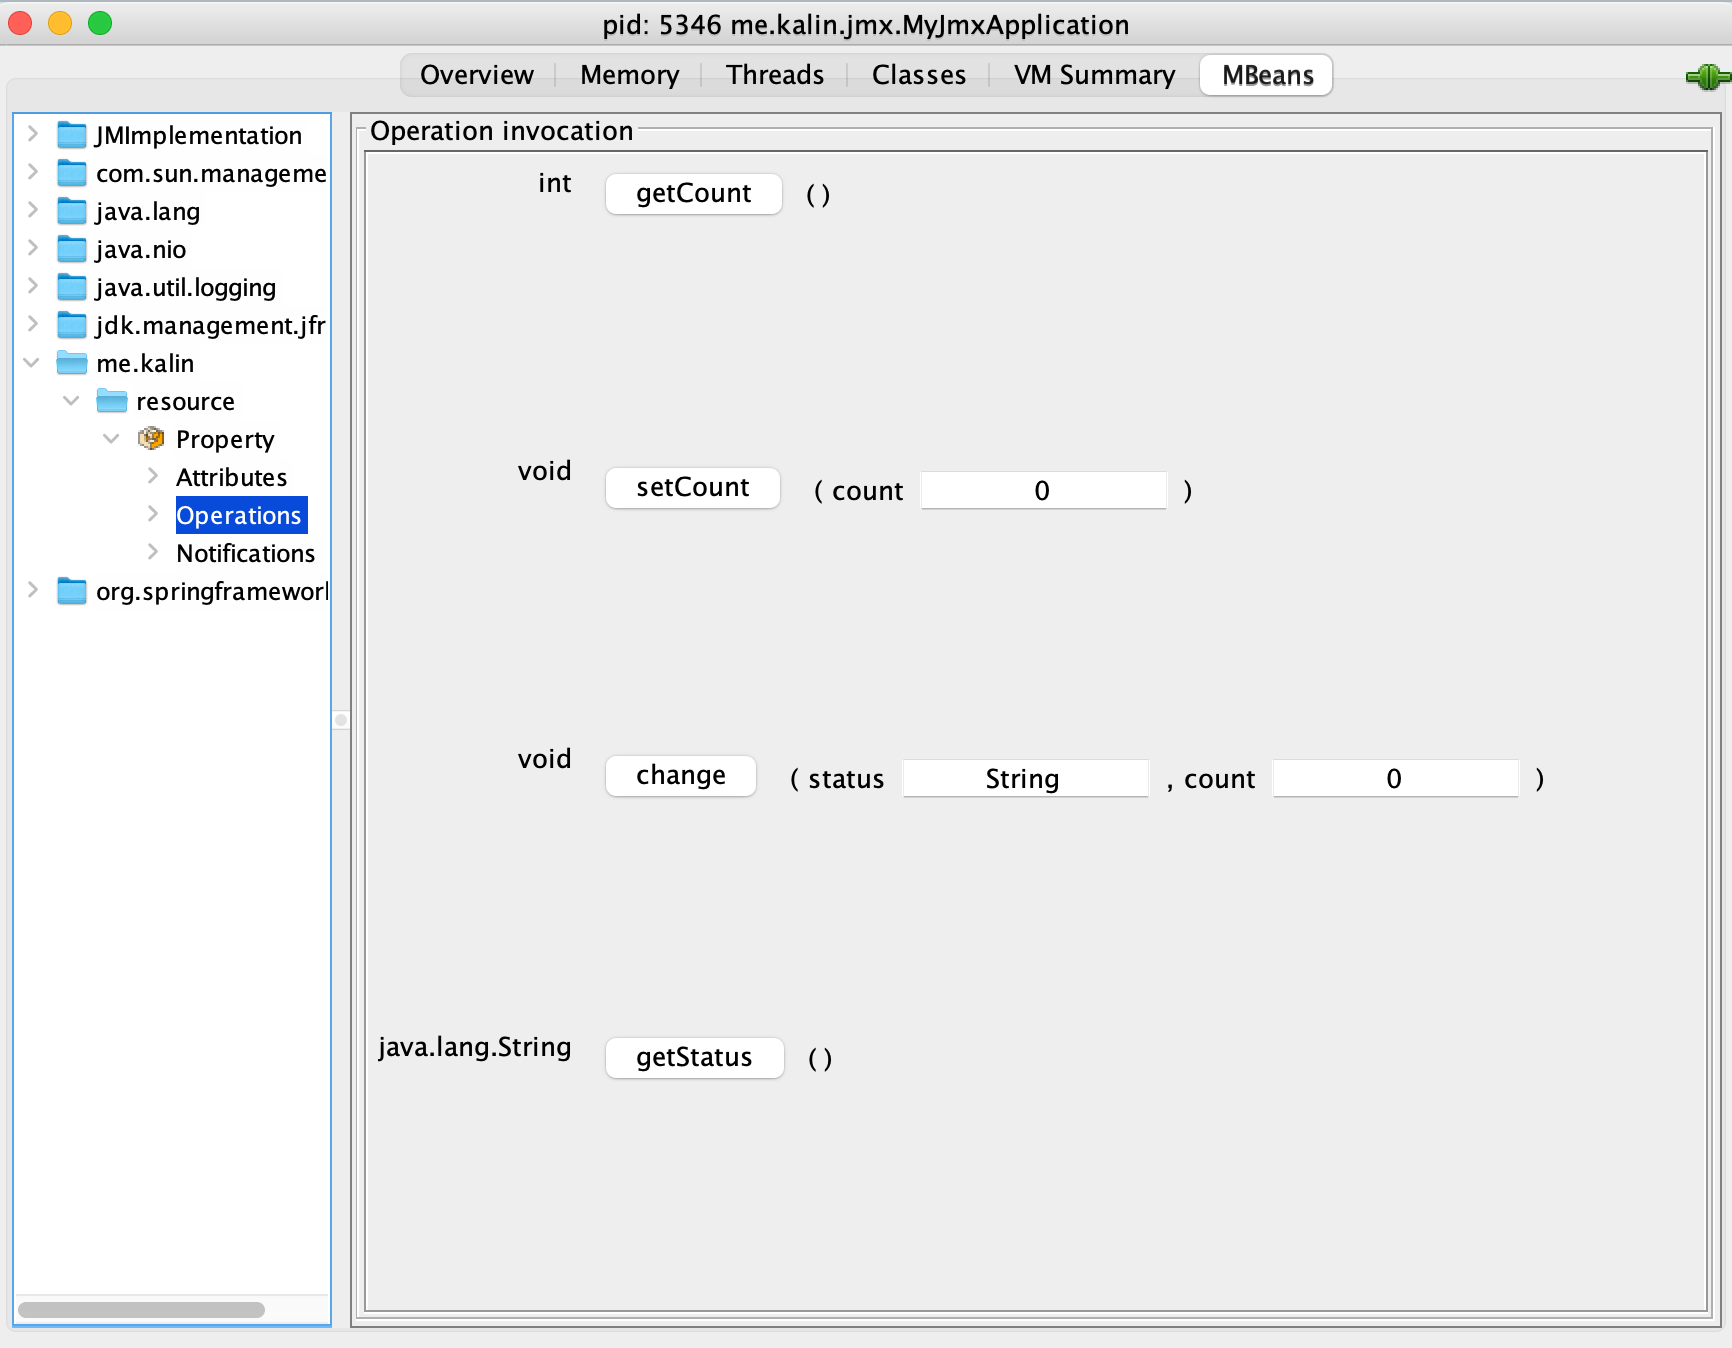
해당 객체를 @Bean 으로 선언후 jconsole을 이용하여 확인해봅니다.
댓글남기기